Navigating to Your User Profile
- Click your Profile Image at the top right of the Inspire screen, and then click My Profile.
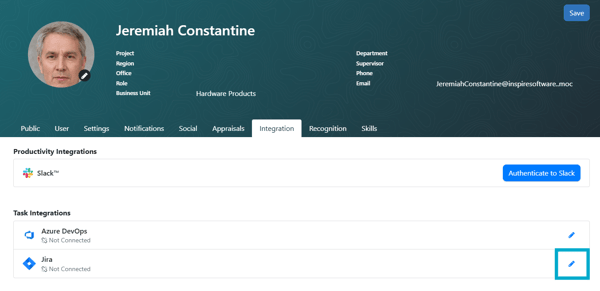
- Navigate to the Integration tab, then click the Edit button for Jira.
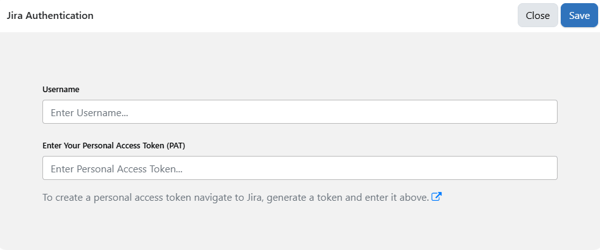
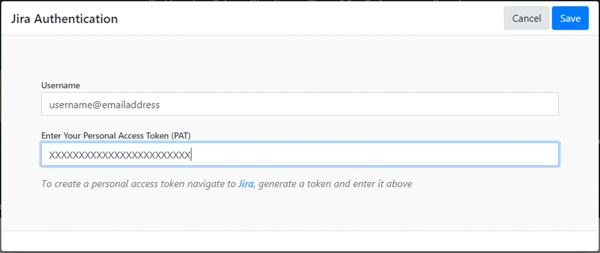
- Enter your Jira username, then click the link to generate a personal access token.
- Once the Atlassian API Tokens page opens, click the Create API Token button.
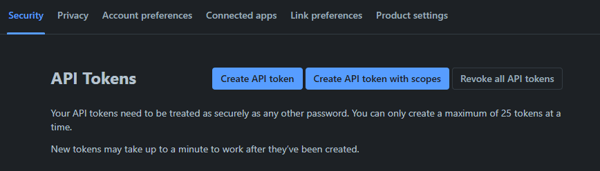
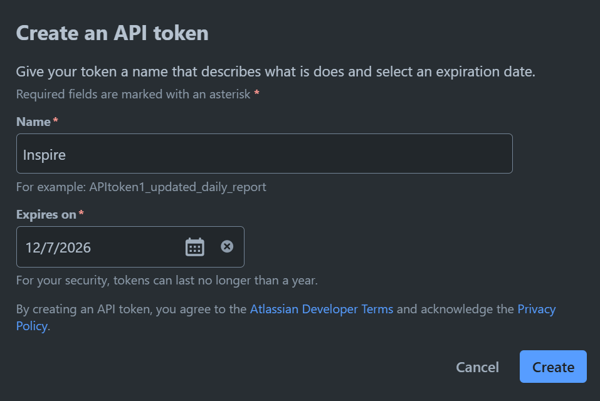
- Enter a token name (e.g., Inspire), select an expiration date, then click the Create button.
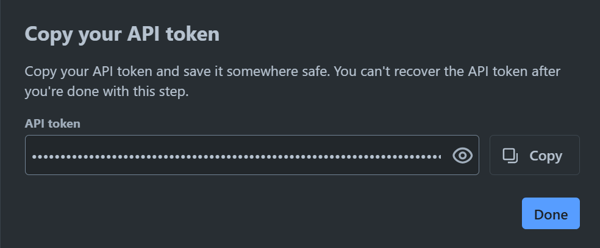
- When your token is generated, click the Copy button, then click the Close button.
- Return to the Jira Authentication setup in Inspire and paste your Jira Personal Access Token (PAT) in the token field. Click Save when finished.
- If set up successfully, Jira will display as connected in the list of integrations.

Using Jira in Inspire
You can now use Inspire to sync your tasks and objective progress with work you have tracked in Jira. Below is a video overview as well as the steps to connect Inspire progress to Jira.
Set up your Objective or Key Results
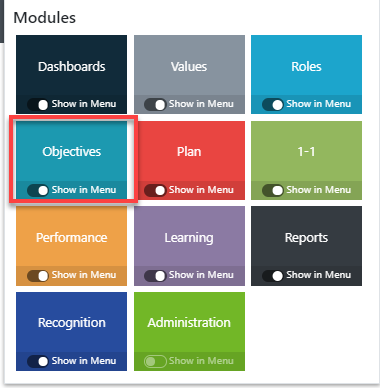
- Open the Modules menu and select Objectives.
- Edit an existing objective or add a new one. Edit the key result that will use Jira as the source of progress.
Note: See Adding a New Objective , Checking In On Your Objectives, Managing Individual Objectives for more information about objectives and key results.
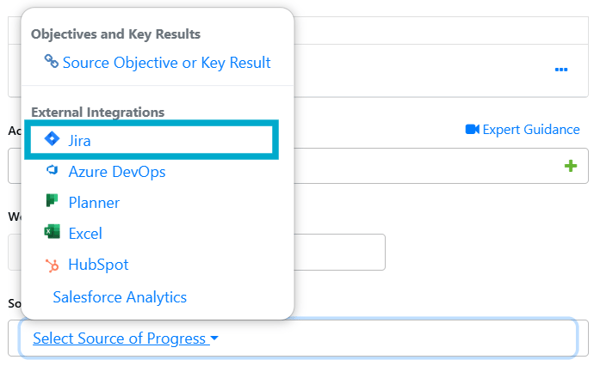
- At the bottom of the key result edit panel, open the Select Source of Progress menu, then select Jira from the list.
- The Edit Integration Setup dialog opens. Use the dropdown arrows to select the Query and Measure Completion By type.
- Note: Please use the search field to select the query in case of large number of queries.
-
- Select an existing Query or select Custom JQL and enter your query text.
- Measure Completion By provides the following options:
- Work Item Count: The number of work items in a selected query.
- Original Estimate: The number of estimated hours associated with the work item(s).
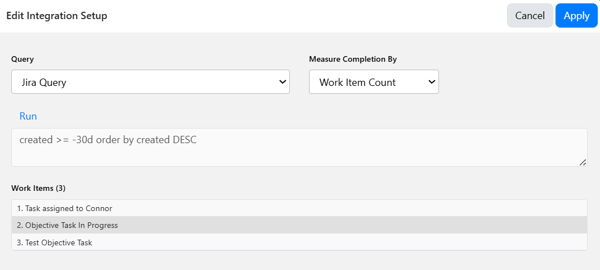
- Select Apply to save the integration. The Jira logo will display on the key result.

Note: You can click on the logo/icon of the integration source of progress to sync progress immediately. Otherwise, the key result's progress will update automatically daily.