Once you have created your objectives and you're making progress, update and manage your objectives using the instructions in this article. Topics covered include:
- View your Objective Details
- Using your My Objective settings
- Check-in on your Objective
- Mark your Objective Achieved
- Archive or Delete your Objective
- Copy your Objective
- View Objectives in a Slideshow
Note: The labeling and images depicted in this article may differ from your version of Inspire.
Open the Objectives Module
1. On the top toolbar, click the Module ![]() button and select Objectives. Your objectives are organized by My Objectives and Team Objectives.
button and select Objectives. Your objectives are organized by My Objectives and Team Objectives.
View your Objective Details
Selecting an individual or team Objective opens a side panel with detailed information including key result progress, your current tasks for the objective, and a progress history graph.
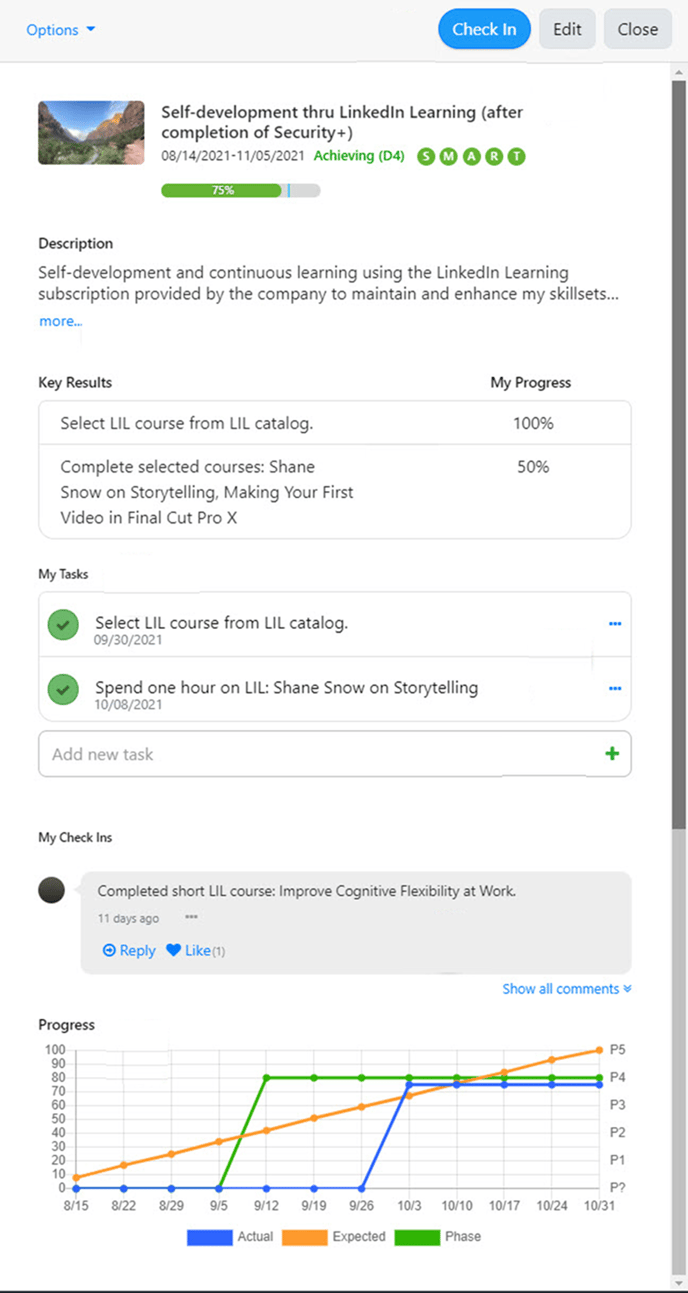
- Check-in on your Objective by clicking the Check-in button..
- Edit your Objective by clicking the Edit button, update your Objective details as desired, and then click Save.
- View the following important Objective details: title, description, date range, and overall Objective progress.
- View your key results and your progress for each key result.
- Review your tasks for the Objective. Mark tasks complete by clicking in the circle.
Note: Only tasks created this week, tasks due this week, and overdue tasks will display on the Objective side panel. If a task is not due this week and the task was created in a previous week, the task will NOT appear on the Objective side panel.
- Click the … Ellipsis button for a task to edit task details or delete the task.
- Add a new task for your Objective by entering a task title and clicking the + button.
- View your past check-ins. Click Show All to see all check-ins for the objective.
- Review your progress history using the history graph which shows actual progress, expected progress, and phase of performance progress.
Using your My Objectives Settings
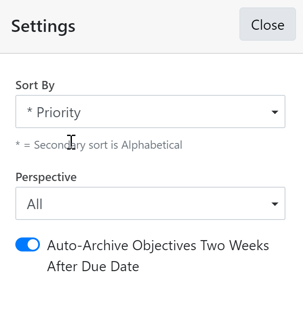
1. Click the Settings ![]() button and choose from the following options from the Settings window:
button and choose from the following options from the Settings window:
-
- Sort By: Choose to sort your objectives in Alphabetical, Priority, Due Date Descending, and Due Date Ascending
- Perspective: Choose to display All objectives, Personal objectives only, or Professional objectives only.
- Auto-Archive Objectives Two Weeks After Due Date: Turn the switch on
 to have objectives that are two weeks past their due date automatically archived.
Check-in on your Objective
Once you are making progress on your objective, check-in to provide a status update and enter your current progress.
1. Select the Check-in button for your Objective, and the Check-in page appears.
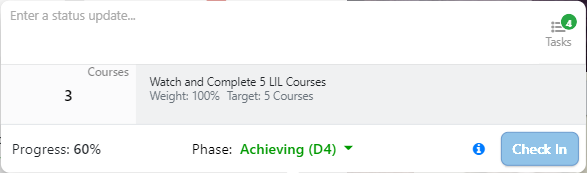
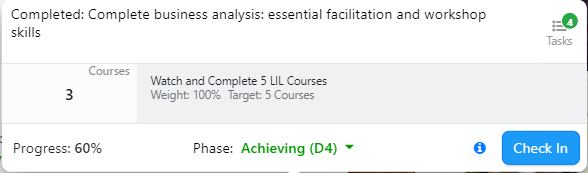
2. Enter a status update describing what you accomplished and update your progress. You can enter a brief comment or include tasks:
-
- You can also click the tasks icon
 to display your list of tasks for this objective:
- and select Include All or Include to include a specific task in the check-in:
- You can also click the tasks icon
3. Click Check-in to post your update and save your progress.
Mark your Objective Achieved
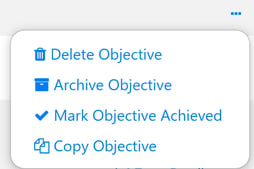
1. Click the … Ellipsis button on an Objective to open the Objective options drop-down menu.
2. Select Mark Objective Achieved.
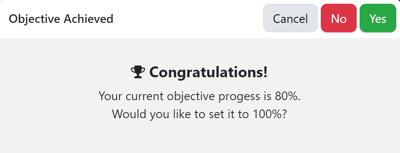
3. When prompted to confirm you have achieved your Objective, optionally set your progress to 100% by clicking Yes. If you have achieved your Objective but you don't want to set your progress to 100%, select No.
Archive or Delete your Objective
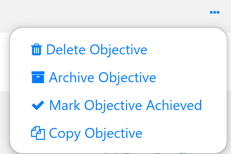
1. Click the … Ellipsis button on an Objective to open the Objective options drop-down menu.
2. To move your objective to Archived Objectives, select Archive Objective. To permanently remove your objective, select Delete Objective.
Note: The Delete Objective option will not display for objectives tied to your Performance Agreement.
Copy your Objective
You may find that you need to create several objectives which are similar. To save time, you can copy an existing objective.
1. Click the ... Ellipsis button on an Objective to open the Objective options drop-down menu.
2. Select Copy Objective.
3. Select the Start and Due Date using the calendar selector or use the Apply Dates drop-down menu to select performance cycle dates. Optionally check Copy Objective Progress if you would like to maintain progress you have made for your new objective.
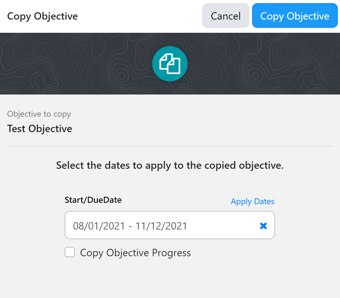
4. Click Copy Objective, then update any additional objective details and Save.
View your Objectives in a Slideshow
1. On the sub-menu bar of the My Objectives page, click the Slideshow ![]() icon to view your objectives and objective images in a slideshow mode.
icon to view your objectives and objective images in a slideshow mode.